Showing posts with label Jim. Show all posts

Monday, 21 January 2013

Jim, Joe and Me: A simple chemise (with a little lace)


The brief: A simple chemise, with some nice lacy sleeve detail. Flounce!

The build: A very simple concept, based on four rectangles, with tracks for either ribbon or elastic, dependant on preference.

The fabric: Cream cotton from Birmingham Rag Market, plus some vintage lace from a friend.

Cost and time: £6 per chemise, plus a few hours sewing.

Process: We start with two rectangles for the body, long enough to go to mid-thigh, and wide enough together to go round the body 1 1/2 to 2 times. Plus two rectangles for the sleeves, wide enough to allow for an armscye, plus half again as long as the arm.

The arm pieces need a channel sewing for elastic, and the lace also sewn on.

Lace Blouse Sleeve

Lace Blouse Sleeve With Lace

The lace is rather nice, if a bit over the top.

Lace Blouse Detail

These arms are then attached to the two body pieces, with no (apparent) space left in the middle.

Lace Blouse Layout

Lace Blouse Pinned

A channel is sewn at the top of the body pieces to allow for ribbon to tighten the neck. The sides are sewn up using French seams, and the bottom is hemmed.

And here it is on.

Lace Blouse Worn 2


Friday, 4 January 2013

Jim: Everyday Jerkin/Doublet Part 2

Following on from this part, I am now at the stage of adding the arms (and altering that annoying doublet tab which hangs slightly too low).

I wanted to have very slim fitting lower arms, with a slightly puffier look at the top. To achieve this I sewed together strips of sleeve material, and a 'feature' material to fill the gaps. I'm using the back of this, as it's a slightly creamy fabric, with white fleur de lys.

Checked BurgundyFleur de Lys Peach


I French seamed them and then sewed the seams onto the main sleeve strips, to keep it flat inside, but also to enhance the look of the 'feature' fabric being behind the sleeve fabric. At the top I created a facing and sewed it in place, along with the other half of the ribbon ties to attach it to the doublet.

Doublet Mod Upper Sleeve2
Doublet Mod Upper Sleeve1


Doublet Mod3

I then needed a lower arm piece, which I decided to make out of one piece of material. As it needed to be quite tight fitting I started with a shape that was 12" circumference and tapered down to the wrist at 10". I added ribbon decoration here to tie it in with the main doublet body.

Doublet Mod Lower Arm

Doublet Mod Full SleeveBecause the upper arm tube wouldn't naturally fit in the lower arm tube, I pleated the 'feature' fabric so it was behind the sleeve fabric until it was the right circumference. This went between the two folded layers of the lower arm and was sewn inside to keep everything neat.


Doublet Mod Arm Join

Altering the doublet tab was quick and easy, and only involved unpicking half the waist to get right. I'm much happier with the levels now though. I also added the leftover ribbon to the back to create a pulled in pleat in order to fit it more tightly to Jim's body, as the waistcoat was originally quite loose.

Doublet Mod Back Ties TiedDoublet Mod Backs Ties Open

And there we have it. One finished doublet, modded from a waistcoat. Minimal amount of money spent, but quite a lot of time. Jim's currently wearing it with one of my blouses (see through for extra League sexiness), plus some plain black work trousers and knee high boots.

Doublet Mod Complete

Doublet Mod Shoulder1


Doublet Mod Long ShotDoublet Mod Back


Thursday, 27 December 2012

Jim: Everyday Jerkin/Doublet Part 1


The brief: A warm jacket style top based on an old piece I started years ago. Mostly to practice my altering skills and allow Jim to allow himself more kit, without worrying over cost and effort.

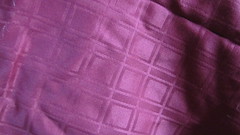
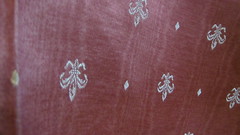
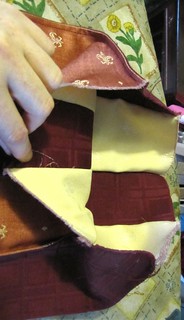
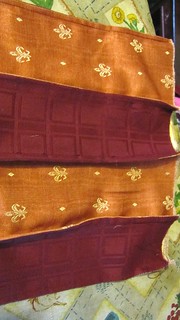
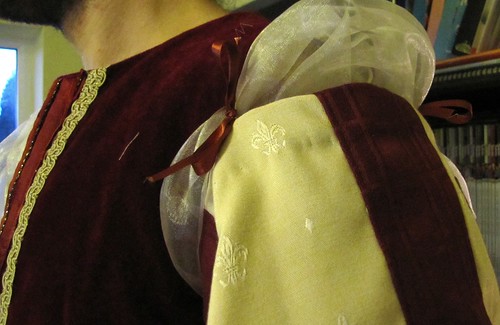
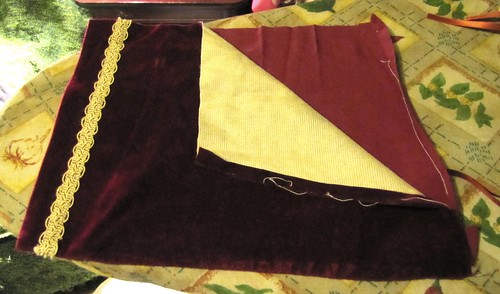
The build: This used to be a velvet waistcoat, lined in sheeting. It will be altered at the shoulders for a better fit and cut up to a high waist. The offcuts will either be used to add some tabs, or to create sleeves. There is some similar enough/different enough material that will be used as the sleeves if necessary. A selection of light gold lining has been chosen for slashes in the sleeves.

Velvet Waistcoat
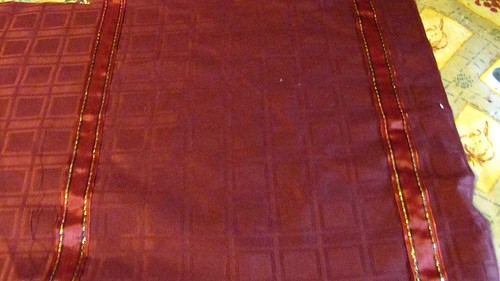
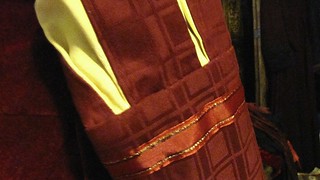
The fabric: Red (curtain) velvet waistcoat from about 5 years ago, lined in red sheeting and with some bargain bin trim. Additional fabric are all offcuts from curtain shop closing down sale, plus some sale ribbon from the Indoor Market.

Cost and time: Cost is very rough, as some of this material was bought over 10 years ago, but my best guess is somewhere between £6-8. Currently sitting at four hours, having finished the body.

Process:  Our starting point.

Overly long for the period we're playing, doesn't do up at the front, doesn't sit right on the shoulders and has never actually been sewn shut at the armhole. Oh dear.

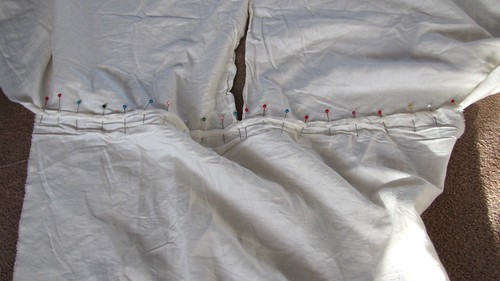
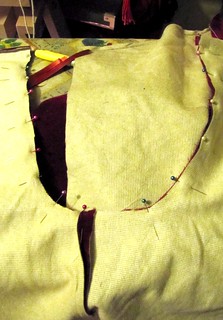
The first thing to do was to re-pin the shoulders on Jim, so that I knew we had a good fit. They were quite far out from where they should be.

Doublet Mod Shoulder Alteration

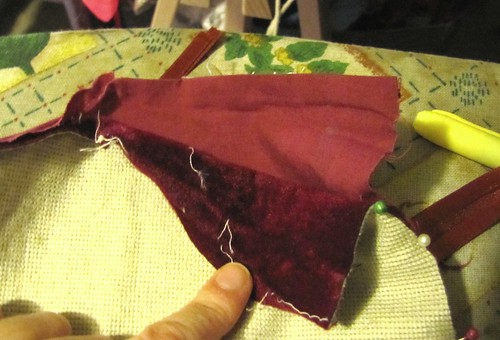
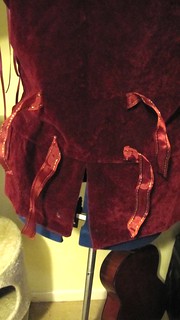
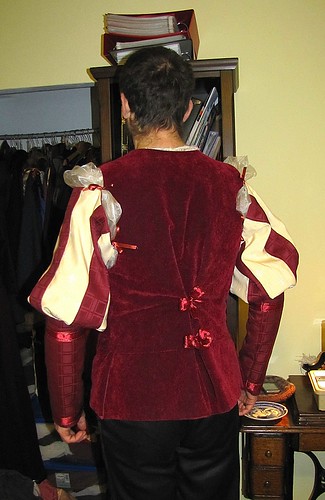
I then checked Jim's natural waist level onto the waistcoat and cut it straight off. After that I un-seamed the bottom pieces, giving me two lower front quarters, and the back half. I chopped the back half straight up the middle, turned all the pieces inside out, and then seamed them up to create four doublet tabs.

Doublet Mod Tab


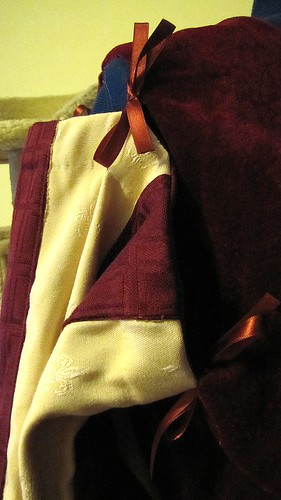
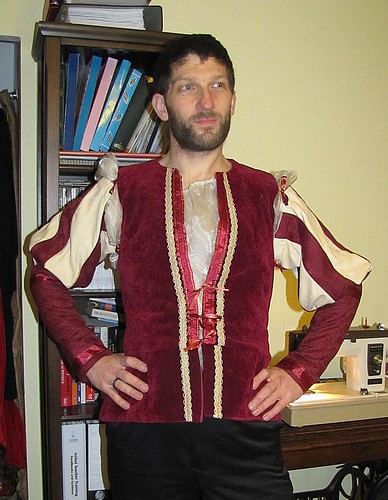
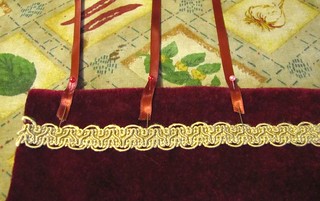
As Jim wanted detachable sleeves, it was easiest to pull the shoulder seams apart at this point, and sew the armholes closed first, including ribbon ties into the sewing. After this I sewed the outer shell at the shoulder on the machine, then pinned the lining together to hand sew.


Doublet Mod Armscye1Doublet Mod Armscye2


Doublet Mod Front Ties Spacing

Doublet Mod Front
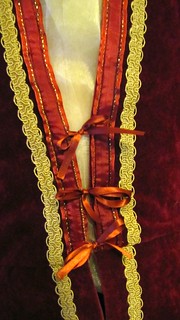
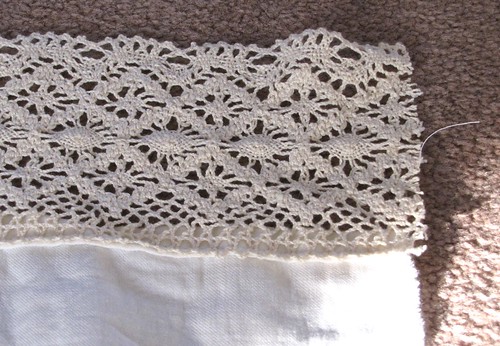
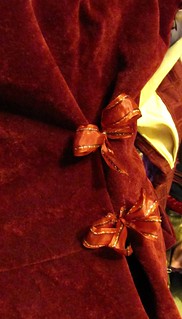
I also needed to add front ties to pull the doublet closed at the waist, although only a few. To save myself having to reopen the front I added them on top and covered then with some ribbon, which also added a bit more flounce. In retrospect I should have just reopened the front. While I sewed the trim on neatly many years ago, it turns out I didn't sew it the same distance away from the edge on both sides.

After this it was a simple enough job to pin the tabs to the outer shell, machine sew it, and then hand stitch the lining in place.


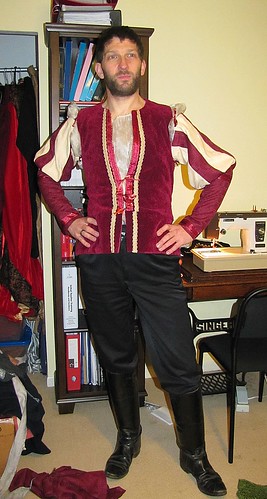
Annoyingly, somewhere along the way, one of the front tabs has hung down more than the other. I'll fix that tomorrow, and other than that, everything is very nice indeed.